Magnetic current sensors are a compelling alternative to traditional shunt-based solutions
Highest magnetic sensitivity, lowest power consumption, smaller size compared to Hall, AMR, and GMR
22-bit and 14-bit GPIO expanders with SPI interface and integrated voltage level translators
InnoSwitch™3-EP family of offline CV/CC QR flyback switcher ICs feature 900 V PowiGaN™ GaN switches.
AI-Powered STM32MP2 MPUs in Single or Dual 64-bit Arm® C-A35 TZ core @ 1.5GHz
CertusPro™-NX FPGA Versa Board: Platform for rapid prototyping and testing of specific designs
The ACS37220 is used to replace shunt resistors for a smaller footprint and simple integration.
Be a part of our ever growing community.
Semicon Media is a unique collection of online media, focused purely on the Electronics Community across the globe. With a perfectly blended team of Engineers and Journalists, we demystify electronics and its related technologies by providing high value content to our readers.
By now, we’ve gone through LiIon handling basics and mechanics. When it comes to designing your circuit around a LiIon battery, I believe you could benefit from a cookbook with direct suggestions, too. Here, I’d like to give you a collection of LiIon recipes that worked well for me over the years.
I will be talking about single-series (1sXp) cell configurations, for a simple reason – multiple-series configurations are not something I consider myself as having worked extensively with. The single-series configurations alone will result in a fairly extensive writeup, but for those savvy in LiIon handling, I invite you to share your tips, tricks and observations in the comment section – last time, we had a fair few interesting points brought up!
There’s a whole bunch of ways to charge the cells you’ve just added to your device – a wide variety of charger ICs and other solutions are at your disposal. I’d like to focus on one specific module that I believe it’s important you know more about.
This is a linear charger IC – if you want 1 A out, you need 1 A in, and the input-output voltage difference multiplied by current is converted into heat. Thankfully, the TP4056 modules are built to handle high temperatures reasonably well, and you can add a heatsink if you want. Maximum charging current is set by a resistor between ground and one of the pins, default resistor being 1.2 kΩ resulting in 1 A current; for low-capacity cells, you can replace it with a 10 kΩ resistor to set a 130 mA limit, and you can find tables online for intermediate values.
There’s some cool things about the TP4056 IC that most people don’t know about if they’re using the modules as-is. The IC’s CE pin is hardwired to 5 V VIN, but if you lift that pin, you can use it to disable and enable charging with a logic level input from your MCU. You can monitor the charging current by connecting your MCU’s ADC to the PROG pin – the same pin used for the current setting resistor. There’s also a thermistor pin, typically wired to ground, but adaptable for a wide range of thermistors using a resistor divider, whether it’s the thermistor attached to your pouch cell or one you added externally to your 18650 holder.
There’s problems with the TP4056 too – it’s a fairly simple IC. Efficiency isn’t an imperative where wall power is available, but the TP4056 does waste a decent bit of power as heat. A switching charger-based module avoids that, and often also lets you charge at higher currents if ever required. Connecting a cell in reverse kills the chip, and the protection circuit too – this mistake is easy to make, I’ve done that aplenty, and this is why you need spares. If you reverse the cell contacts, throw the board out – don’t charge your cells with a faulty IC.
Also, given the TP4056’s popularity, copies of this IC are manufactured by multiple different chip vendors in China, and I’ve observed that some of these copy ICs break more easily than others, for instance, no longer charging your cells – again, keep spares. The TP4056 also doesn’t provide charging timers like other, more modern ICs do – a subject we touched upon in the comment section of the first article.
All in all, these modules are powerful and fairly universal. It’s even safe to use them to charge 4.3 V cells, as due to the CC/CV operation, the cell simply won’t charge to its full capacity – prolonging your cell’s life as a side effect. When you need to go beyond such modules, there’s a myriad of ICs you can make use of – smaller linear chargers, switching chargers, chargers with built-in powerpath and/or DC-DC regulator features, and a trove of ICs that do LiIon charging as a side effect. The world of LiIon charger ICs is huge and there’s way more to it than the TP4056, but the TP4056 is a wonderful starting point.
You can buy a batch of ready-to-go protection circuit modules, or just use the protection circuit laid out on the TP4056 module PCB. You can also accumulate a decent stock of protection circuits by taking them out of single-cell batteries whenever the cell puffs up or dies – take caution not to puncture the cell while you do it, please.
For a 4.2 V LiIon cell, the useful voltage range is 4.1 V to 3.0 V – a cell at 4.2 V quickly drops to 4.1 V when you draw power from it, and at 3.0 V or lower, the cell’s internal resistance typically rises quickly enough that you will no longer get much useful current out of your cell. If you want to get to 1.8 V or 2.5 V, that is not a problem, and if you want to get to 5 V, you’ll use a boost regulator of some sort. However, most of our chips still run at 3.3 V – let’s see what our options are here.
If you want 500 mA to 1000mA or even more current on an ongoing basis, a switching regulator will be your best friend. My personal favourite is PAM2306 – this regulator is used on the Raspberry Pi Zero, it’s very cheap and accessible, and even has two separate output rails. Given its capability to do 100% duty cycle operation, it can extract a lot of juice out of your cells, often desirable for higher-power projects where runtime matters. And hey, if you got Pi Zero with a dead CPU, you won’t go wrong snipping a part of the PCB off and soldering some wires to it. When designing your own board, use datasheet recommendations for inductor parameters if the whole “picking the right inductor” business has you confused.
Now, you’ve got charging, and you got your 3.3 V. There’s one problem that I ought to remind you about – while you’re charging the battery, you can’t draw current from it, as the charger relies on current measurements to control charging; if you confuse the charger with an extra load, you risk overcharging the battery.
Fortunately, since you have a charger plugged in, you must have 5 V accessible. It’d be cool if you could power your devices from that 5 V source when it’s present, and use the battery when it’s not! We typically use diodes for such power decisions, but that’d cause extra voltage drop and power losses when operating from the battery. Thankfully, there’s a simple three-component circuit that works way better.
In this power path circuit, a P-FET takes role of one of the diodes, with a resistor opening the FET while the charger’s not present. The P-FET doesn’t have a voltage drop, but instead has resistance in fractions of an ohm, so you avoid losses when the charger’s not plugged in. Once the charger is connected, the FET closes, and the charger powers your circuit through the diode instead. You need a logic-level P-FET – IRLML6401, CJ2305, DMG2301LK or HX2301A would fit, and there’s thousand others that will work. As for a diode, a default Schottky like 1N5819 (SS14 for SMD) will do. It’s a ubiquitous circuit and deserves its place in circuit toolboxes.
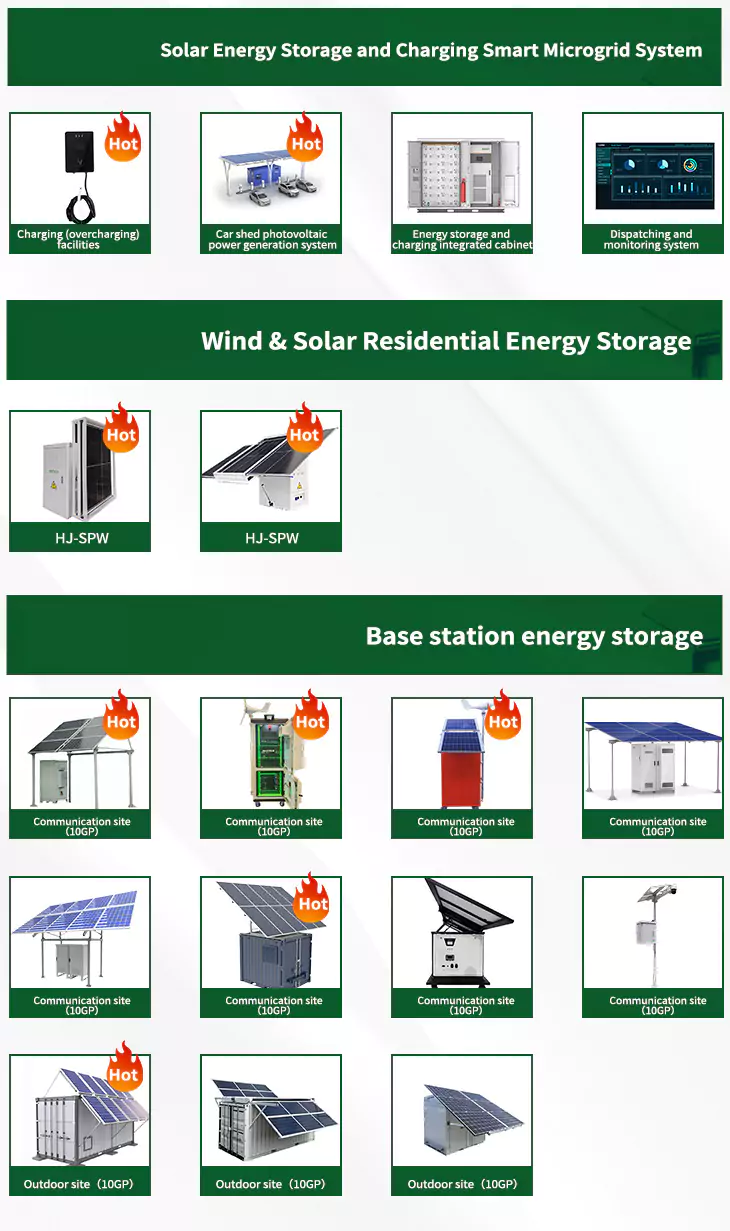
About 12v li ion battery diagram
As the photovoltaic (PV) industry continues to evolve, advancements in 12v li ion battery diagram have become critical to optimizing the utilization of renewable energy sources. From innovative battery technologies to intelligent energy management systems, these solutions are transforming the way we store and distribute solar-generated electricity.
When you're looking for the latest and most efficient 12v li ion battery diagram for your PV project, our website offers a comprehensive selection of cutting-edge products designed to meet your specific requirements. Whether you're a renewable energy developer, utility company, or commercial enterprise looking to reduce your carbon footprint, we have the solutions to help you harness the full potential of solar energy.
By interacting with our online customer service, you'll gain a deep understanding of the various 12v li ion battery diagram featured in our extensive catalog, such as high-efficiency storage batteries and intelligent energy management systems, and how they work together to provide a stable and reliable power supply for your PV projects.